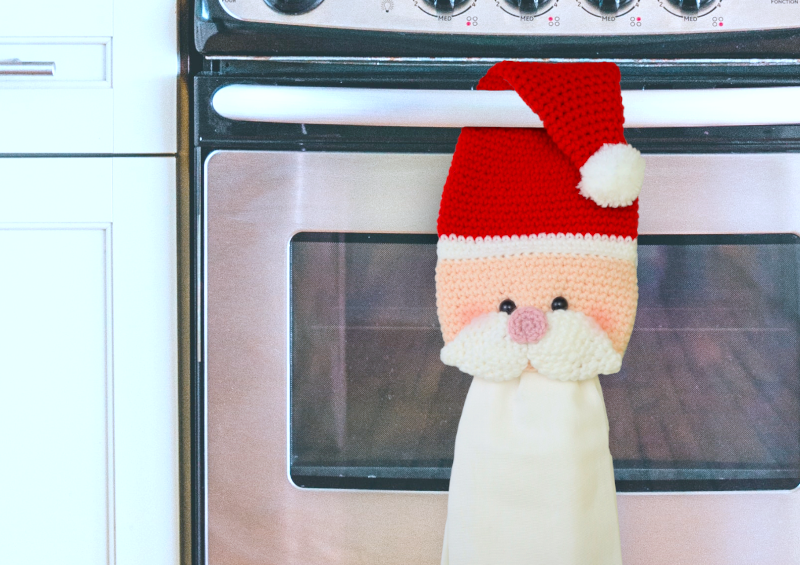
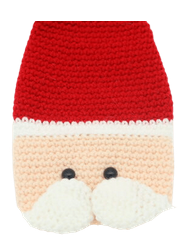
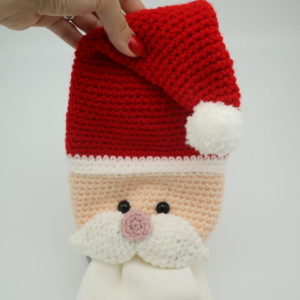
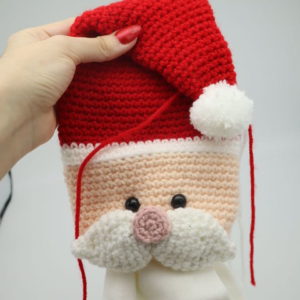
Santa Towel Topper – Free Christmas Crochet Pattern
Hello everyone! I recently asked you if you’d like to see other patterns from my – things besides amigurumi. The response was overwhelmingly. “YES!” I was so happy to hear that. So here is one pattern that isn’t totally amigurumi, and is more decor and functional. The Santa towel topper!
This free Santa towel topper crochet pattern is super easy to make. I will show you to do each part, including how to attach the towel ring. This Santa towel topper is such a cute decoration, I hope you’ll give it a try!
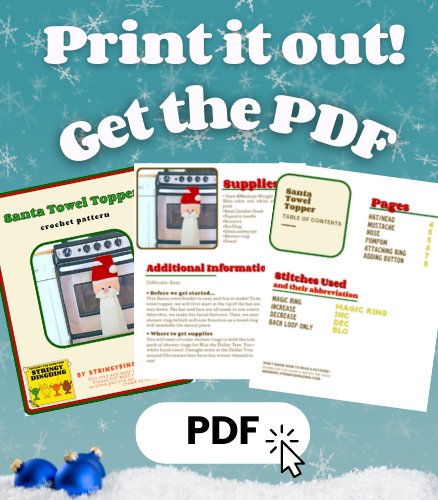
Print this pattern out – purchase the PDF version here!
 Supplies:
• Yarn 4/Medium Weight in…
Skin color, red, white, and light pink
•4mm Crochet Hook
•Tapestry needle
•Scissors
•Stuffing
•12mm safety eye
•Shower ring
•Towel
Additional Information:
Difficulty: Easy
• Before we get started…
This Santa towel holder is easy and fun to make! To make this towel topper, we will first start at the tip of the hat and work our way down. The hat and face are all made in one continuous piece. After this, we make his facial features. Then, we assemble the shower ring (which will now function as a towel ring!) Lastly, we will assemble the secure piece.
• Where to get supplies
You will need circular shower rings to hold the towel. I bought a pack of shower rings for $1 at the Dollar Tree. You will also need a white hand towel. I bought mine at the Dollar Tree as well. Usually around Christmas they have fun winter themed towels you could use!
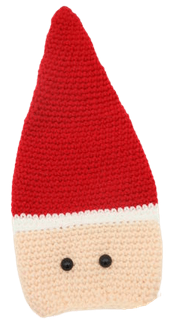
Hat/Head:
In Red
To make this towel topper, we will first start at the tip of the hat and work our way down. The hat and face are all made in one continuous piece. Let’s get started!
Round 1: 6 Sc into a magic ring
Round 2: *Inc* all around (12)
Round 3-5: *Sc* all around (12)
Round 6: *Inc, Sc in the next st* all around (18)
Round 7-11: *Sc* all around (18)
Round 12: *Inc, Sc in the next 2 st* all around (24)
Round 13-16: *Sc* all around (24)
Round 17: *Inc, Sc in the next 3 st* all around (30)
Round 18-21: *Sc* all around (30)
Round 22: *Inc, Sc in the next 4 st* all around (36)
Round 23-26: *Sc* all around (36)
Round 27: *Inc, Sc in the next 5 st* all around (42)
Round 28-39: *Sc* all around (42)
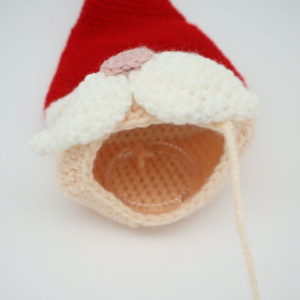
Round 40-42: Change to white. *Sc* all around (42)
Round 43: Change to skin color. In the BLO, *Sc* all around (42)
Round 44-49: In BOTH Loops, *Sc* all around (42)
Now we will add eye stitch markers. Be sure to use a different color for these markers, so you don’t mix them up for your round stitch marker! Add a stitch marker in the 20th stitch, and another in the 26th stitch. These will mark where to place the eyes later.
Round 50-53: *Sc* all around (42)
Add the eyes into the marked areas now.
Round 54: *Dec, Sc in the next 6 st* all around (36)
Round 55: *Dec, Sc in the next 5 st* all around (30)
Round 56: *Dec, Sc in the next 4 st* all around (24)
Finish off now and weave in ends.
Mustache: (Make 2)
In white
Round 1: 6 Sc into a Magic Ring (6)
Round 2: *Inc* all around (12)
Round 3: *Inc, Sc in the next st* all around (18)
Round 4-6: *Sc* all around (18)
Round 7: *Dec, Sc in the next st* all around (12)
Round 8-9: *Sc* all around (12)
Round 10: *Dec* all around (6)
Round 11-12: *Sc* all around (6)
Finish off, leaving a long tail for sewing. Sew the remaining stitches together. Sew the yarn up to Round 1. Place the mustache where shown and sew on – making sure to ONLY sew through the top layer of Santa. DON’T sew through both layers. You won’t be able to fit the towel in if the Santa is sewn closed.
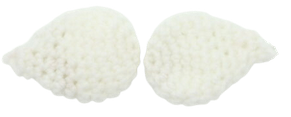
Nose:
In Light Pink
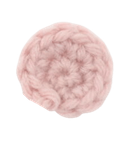
Round 1: 6 Sc into a Magic Ring (6)
Round 2: *Inc* all around (12)
Finish off, leaving a long tail for sewing. Place the nose on top of the mustaches as shown. Sew onto the mustaches. I sewed down only onto the mustache part, and didn’t sew the nose onto the skin part. The nose would look a little awkward if we sewed it down to the skin part, so only sew onto the mustaches. Once sewn on, weave in ends!

Pom pom:
In White
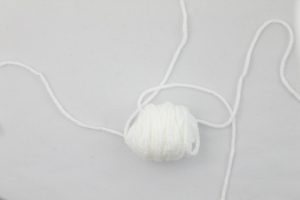
First, cut a 12″ piece of white yarn and set aside for later. Now, take white yarn and wrap it around for 3 fingers 80 times (Pic 1, 2, & 3).
1. 2.
2. 3.
3.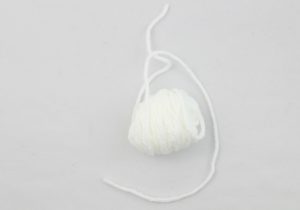
Now take the yarn off your fingers (Pic 3). Wrap the 12″ piece of yarn around the yarn a few times (Pic 5-6). Do this tightly to secure.
4. 5.
5. 6.
6.
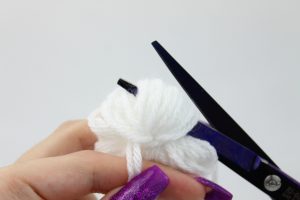
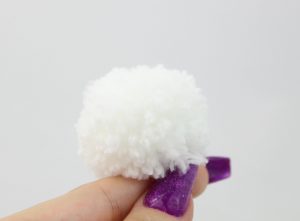
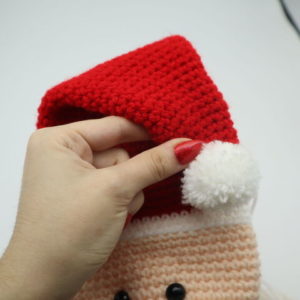
Now, cut the loops of yarn as shown (Pic 7-10). Be sure to cut all the longer pieces of yarn off to get a puffy ball. Now we can sew it on. Be sure to not sew it to the very tip of the hat, because we will need the tip for later. Instead, with Santa’s face facing you, fold Santa’s hat tip towards you. Sew the pompom to that front side, right above the tip (Pic 12)
7. 8.
8. 9.
9. 10.
10.
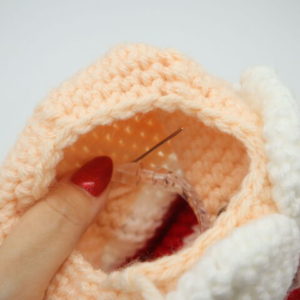
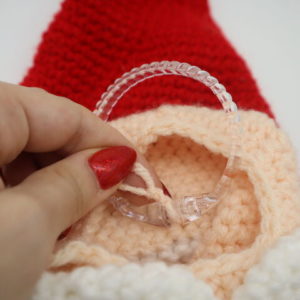
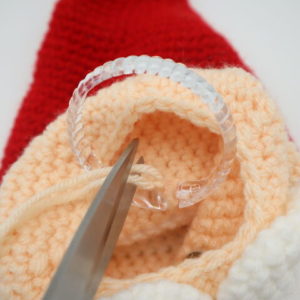
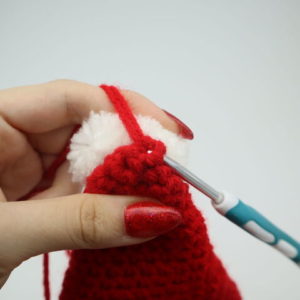
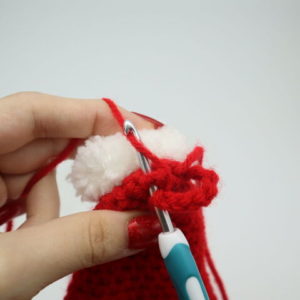
Attaching towel ring:
In skin color
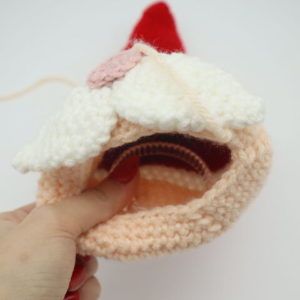
Place the towel ring into the Santa, the top of the ring being 1 round BELOW the white round. With skin color yarn, insert the needle into the Santa, right above the towel ring (Pic 2).
1. 2.
2.
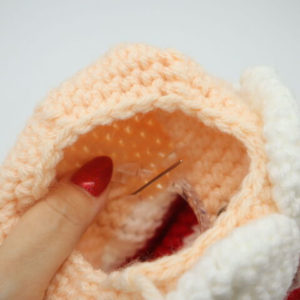
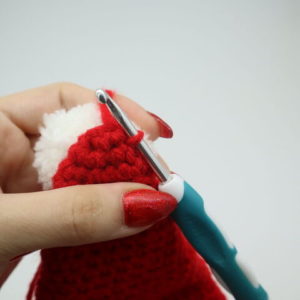
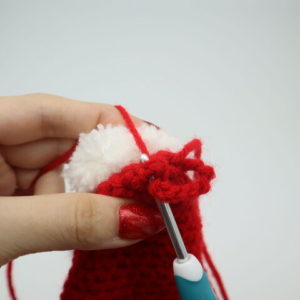
Pull the needle to the outside of the Santa (Pic 3). Reinsert needle 1 round down (Pic 4).
3. 4.
4.
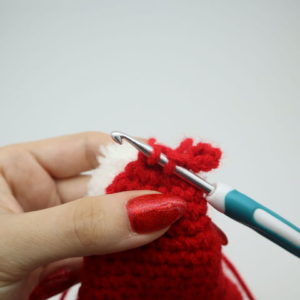
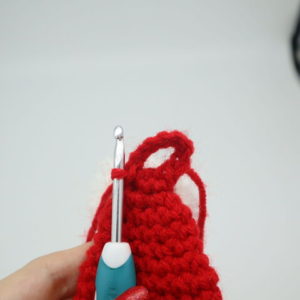
This time, the needle will land inside the ring (Pic 5). The two tail ends of yarn will be inside the Santa. Tie both tail ends of yarn into a firm knot 5 times, the ring will be in between this knot (Pic 6). Cut the excess yarn (Pic 7). Done!
5. 6.
6.  7.
7. 8.
8.
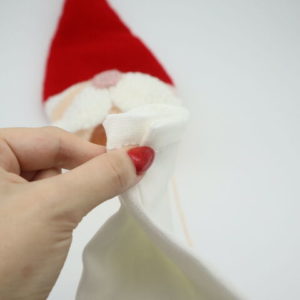
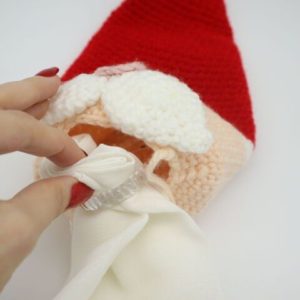
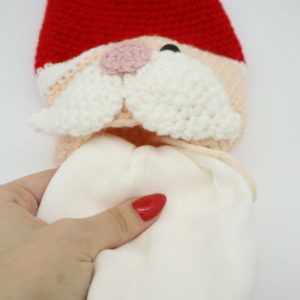
Placing towel:
Fold the ends of one side of the towel together (Pic 1). Bring that end through the towel ring (Pic 2). Pull it all the way through (Pic 3). Done!
1. 2.
2. 3.
3. 4.
4.
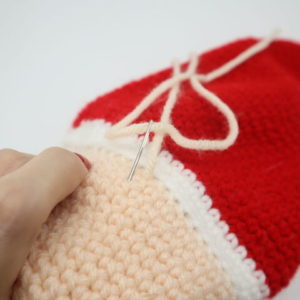
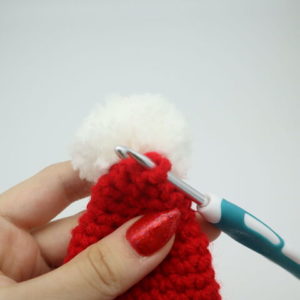
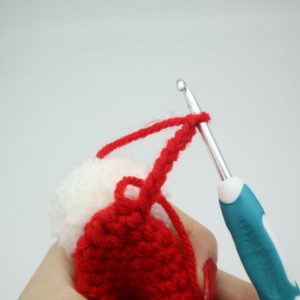
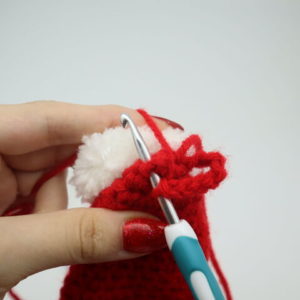
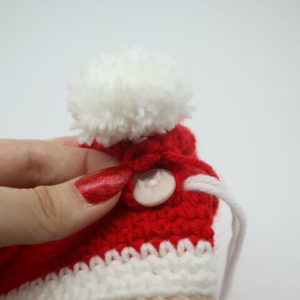
Securing piece with button:
In Red
Now we will add the securing piece for the Santa to fit over the oven’s bar. Bring the Santa hat over as shown (Pic 1). Sew a button to roughly where the hat tip was (Pic 2). Attach your hook into the very tip of the hat (Pic 3). Yarn over and pull through with red yarn (Pic 4-6). Ch 8, or however many chains are needed to fit over the button (Pic 7). Insert your hook into the hat tip, about one stitch to the left (Pic 8). Yarn over, pull up a loop, and make a SlSt (Pic 12). Finish off and weave in ends. Place the chain over the button to secure! (Pic 13-14).
1. 2.
2. 3.
3. 4.
4. 5.
5. 6.
6. 7.
7. 8.
8. 9.
9. 10.
10. 11.
11. 12.
12. 13.
13. 14.
14.


3 Comments
Très imaginatif et très joli. Juste une question : à quoi sert le rembourrage ?
Pascale ~
I think Olive may not know French. My translation is “Very imaginative and very fun. Just one question. where do you insert the towel ring?” I guessed at the last sentence. Only had high school French over 40 years ago.
Maybe Olive can answer you soon with a little understanding that I provided or maybe she was too busy over the holidays. Be patient she just launched a new book!
le rembourrage = stuffing. There is no stuffing, it’s a hand towel that is inserted onto the ring.
EN FRANCAIS: Il n’y a pas de rembourrage. C’est un torchon inséré a` travers l’anneau en plastique (photo 8) cousu dans la tête de Papa Noël. Papa Noël, c’est juste quelque chose de décoratif pour le torchon de cuisine.