
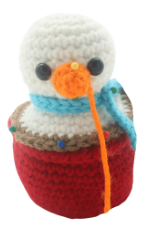
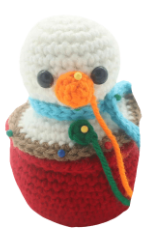
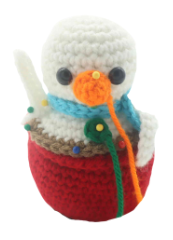
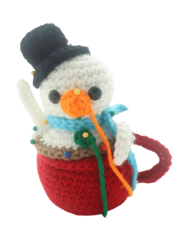
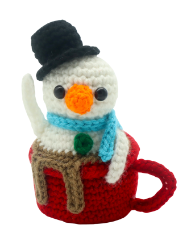
Snowman in Hot CoCoa Amigurumi – Free Crochet Pattern
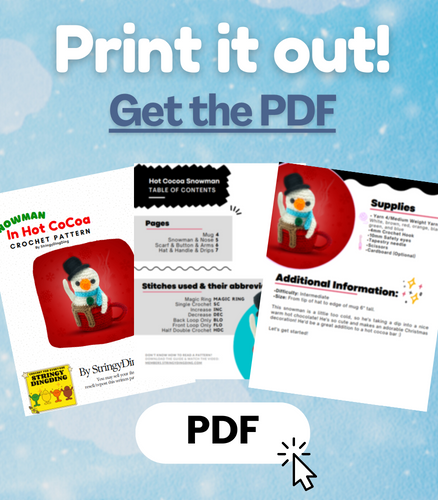
Print this pattern out – purchase the PDF here!

 Supplies:
• Yarn 4/Medium Weight Yarn in…
White, brown, red, orange, black, green, and blue
•4mm Crochet Hook
•10mm Safety eyes
•Tapestry needle
•Scissors
•Cardboard (Optional)
Additional Information:
•Difficulty: Intermediate
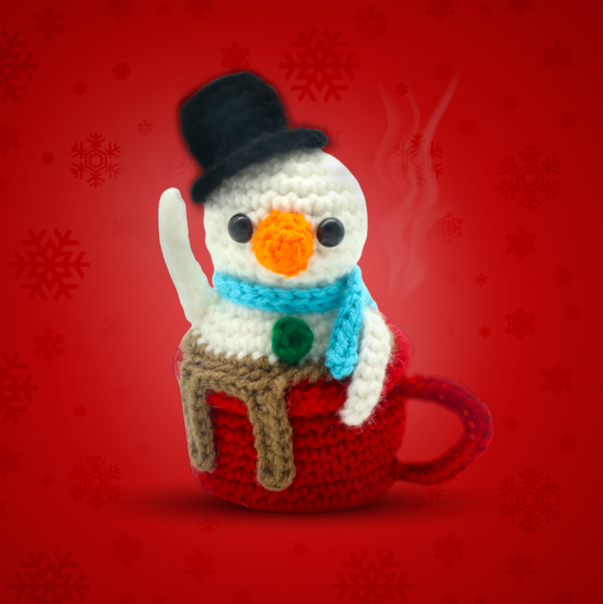
•Size: From tip of hat to edge of mug 6″ tall.
This snowman is a little too cold, so he’s taking a dip into a nice warm hot chocolate! He’s so cute and makes an adorable Christmas decoration! He’d be a great addition to a hot cocoa bar 🙂
Let’s get started!
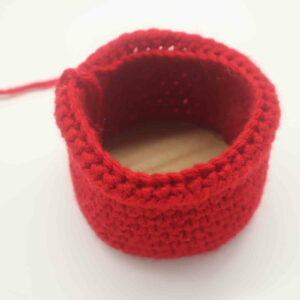
Mug:
In Red
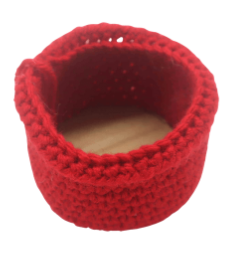
Round 1: 6 Sc into a Magic Ring (6)
Round 2: *Inc* all around (12)
Round 3: *Inc, Sc in the next st* all around (18)
Round 4: *Inc, Sc in the next 2 st* all around (24)
Round 5: *Inc, Sc in the next 3 st* all around (30)
Round 6: *Inc, Sc in the next 4 st* all around (36)
Round 7:*Inc, Sc in the next 5 st* all around (42)
Round 8: In the BLO, *Sc* all around (42)
Round 9-17: In BOTH loops, *Sc* all around (42)
Round 18: In the BLO, *Hdc* all around (42)
Finish off and weave in ends.
Now we will add in cardboard so the bottom and bottom of the mug sit flat!
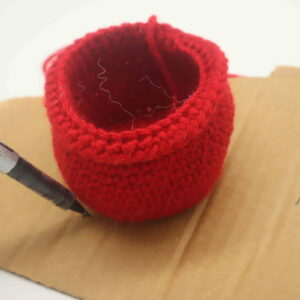
Step 1. Place the pot on cardboard and trace around the entire bottom of the mug (Pic 1)
1.
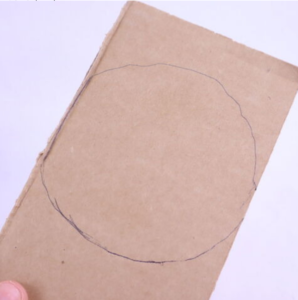
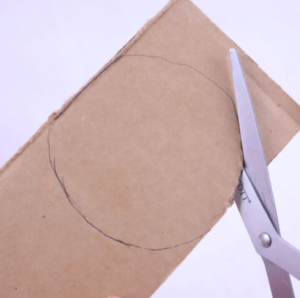
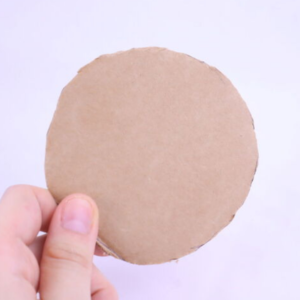
Step 2. You will have a circle (Pic 2). Cut around the circle with scissors (Pic 3-4)
2. 3.
3. 4.
4.
Step 3. Place the cardboard at the bottom of the mug (Pic 5). Stuff the mug now.
5.
Snowman:
In White
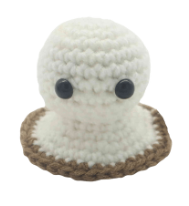
Round 1: 6 Sc into a Magic Ring (6)
Round 2: *Inc* all around (12)
Round 3: *Inc, Sc in the next st* all around (18)
Round 4: *Inc, Sc in the next 2 st* all around (24)
Round 5-7: *Sc* all around (24)
Now we will mark where to place the safety eyes. Add a different colored stitch marker into the 13th and 17th stitch in Round 7.
Round 8-9: *Sc* all around (24)
Round 10: *Dec, Sc in the next 2 st* all around (18)
Round 11: *Dec, Sc in the next 4 st* all around (15)
Round 12: In the Front Loop Only, *Inc, Sc in the next 4 st* all around (18)
Round 13: In BOTH loops, *Inc, Sc in the next 2 st* all around (24)
Round 14: *Inc, Sc in the next 3 st* all around (30)
Round 15: *Inc, Sc in the next 4 st* all around (36)
Round 16: Change to Brown. *Sc* all around (36)
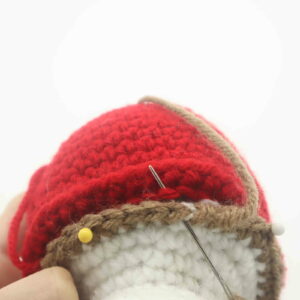
Finish off, leaving a long tail for sewing. Add the safety eyes into the marked areas now. Place the snowman on top of the cup as shown. Sew the snowman to the cup, going through the cups back loops we left in Round 18 of the cup. Once done, weave in ends and cut any excess yarn.
Nose:
In Orange
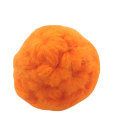
Round 1: 6 Sc into a Magic Ring (6)
Round 2: *Sc* all around (6)
Round 3: *Inc, Sc in the next 2 st* all around (8)
Finish off, leaving a long tail for sewing. Pin the nose on as shown and sew on. Once sewn on, weave in ends and cut any excess yarn.
Scarf:
In Blue
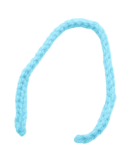
Row 1: Ch 44. SlSt in the 2nd Ch from the hook. SlSt in the next 42 Ch. Once done, finish off. Leave a long tail for sewing if you want to sew the scarf on, or weave in ends if you want to hot glue the scarf. Pin the scarf on as shown and attach.
Button:
In Green
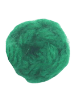
Round 1: 4 Sc into a Magic Ring (4)
Finish off, leaving a long tail for sewing. Pin the button on as shown and sew on. Weave in ends and cut any excess yarn. (Note: I glued on the button with hot glue as it’s easier gluing on small parts rather than sewing them on.)
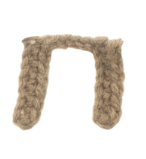
Arms: (Make 2)
In White
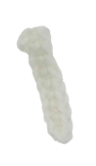
Row 1: Ch 10. Sc in the 2nd Ch from the hook. Sc in the next 8 st.
Finish off, leaving a long tail for sewing. Pin the arms on as shown. Now sew on. Once sewn on, weave in ends and cut any excess yarn.
Hat:
In Black
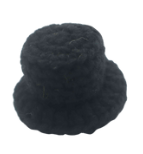
Round 1: 6 Sc into a Magic Ring (6)
Round 2: *Inc* all around (12)
Round 3: *Inc, Sc in the next st* all around (18)
Round 4: In the BLO, *Sc* all around (18)
Round 5-7: In BOTH loops, *Sc* all around (18)
Round 8: In the FLO repeat *2 Dc into the next st, Dc 1 time in each of the next 2 st* all around (24)
Finish off, leaving a long tail for sewing. Pin the hat on as shown. Sew the hat on, making sure to add stuffing before fully sewing on. Once sewn on, weave in ends and cut any excess yarn.
Handle:
In Red
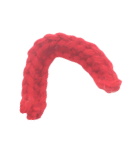
Row 1: Ch 16. Sc in the 2nd Ch from the hook. Sc in the next 6 Ch. *Inc* in the next 2 st. Sc in the next 6 st.
Finish off, leaving a long tail for sewing. Pin the handle on as shown and sew on. Weave in ends and cut any excess yarn.
Chocolate Drip:
In Brown
Row 1: Ch 8. Sc in the 2nd Ch from the hook. Sc in the same st. Sc in the next 6 st. Ch 12. Sc in the 2nd Ch from the hook. Sc in the same st. Sc in the next 6 Ch. Finish off now, leaving a long tail for sewing. Pin the drips on as shown, there will be chains between each drip. Align these chains and the drips to the brown part of the mug. Now sew on or hot glue on (hot gluing is easier!)


3 Comments
Can you advise if there is a typo in the cup part of the pattern as row 18 says BLO but when it comes to assembly it says sew to back loop of row 18 but this is on the outside?
I noticed the mistake in round 18 of the cup as well. Flipped it to FLO and it turned out beautifully.
Thank you for your amazing work!
Hey, i love how simple to understand your patterns are. Could you please make an olaf pattern too from Frozen ?? Love and appreciate your efforts in each pattern. ❤️❤️