
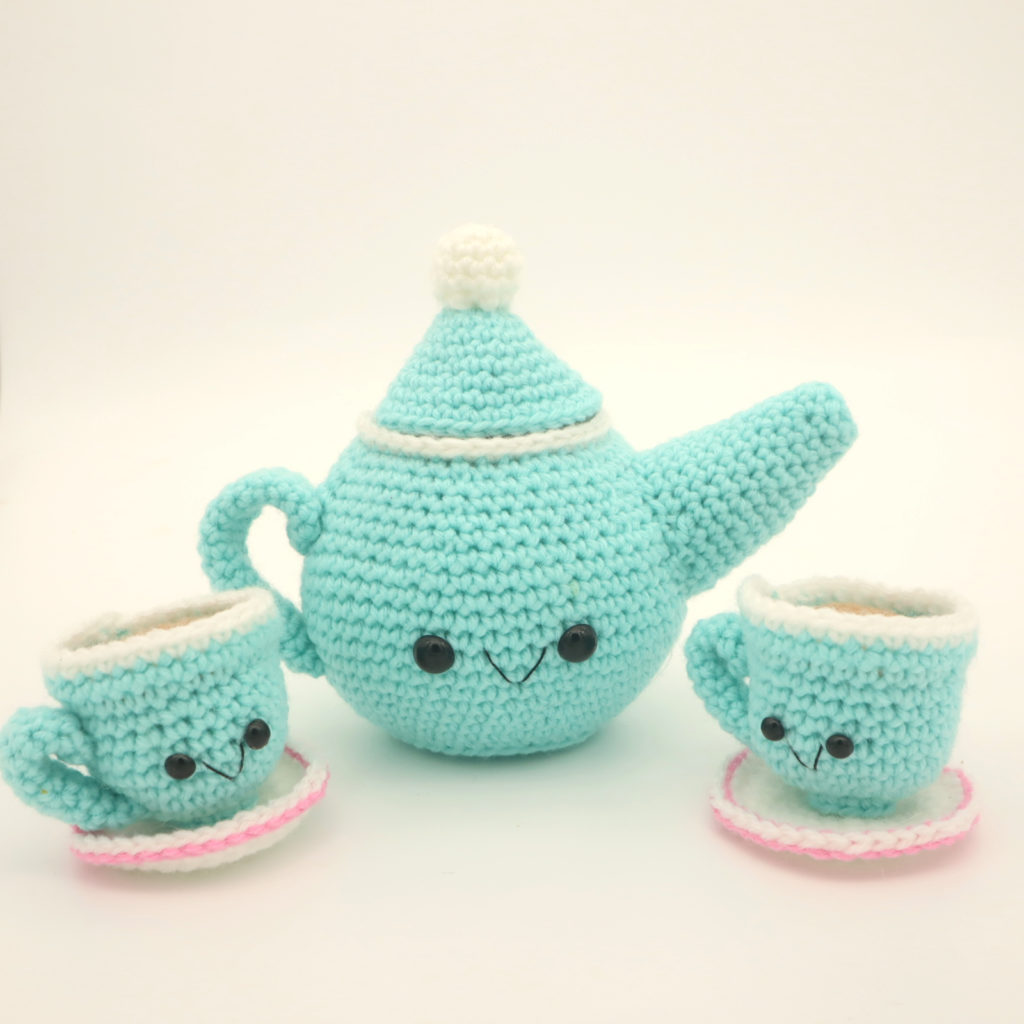
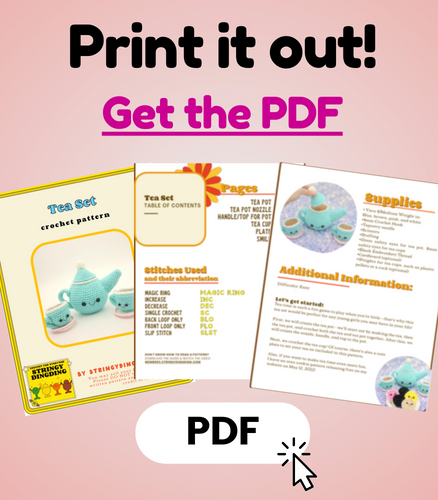
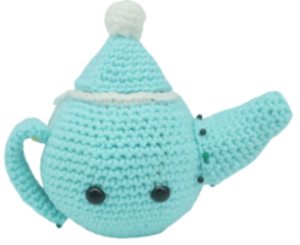
Tea Set: Tea pot and tea cup amigurumi- Free Crochet Pattern
Print this pattern out – purchase the PDF version here!

 Supplies:
• Yarn 4/Medium Weight in:
Blue, brown, pink, and white
•4mm Crochet Hook
•Tapestry needle
•Scissors
•Stuffing
•12mm safety eyes for tea pot, 8mm safety eyes for tea cups
•Black Embroidery Thread
•Cardboard (optional)
•Weights for tea cups, such as plastic pellets or a rock (optional)
Additional Information: Difficulty: Easy
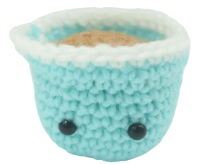
Tea time is such a fun game to play when you’re little – that’s why this tea set would be perfect for any young girls you may have in your life!
First, we will create the tea pot – we’ll start out by making the tea, then the tea pot, and crochet both the tea and tea pot together. After this, we will create the nozzle, handle, and top to the pot. Next, we crochet the tea cup! Of course, there’s also a cute plate to set your tea on included in this pattern.
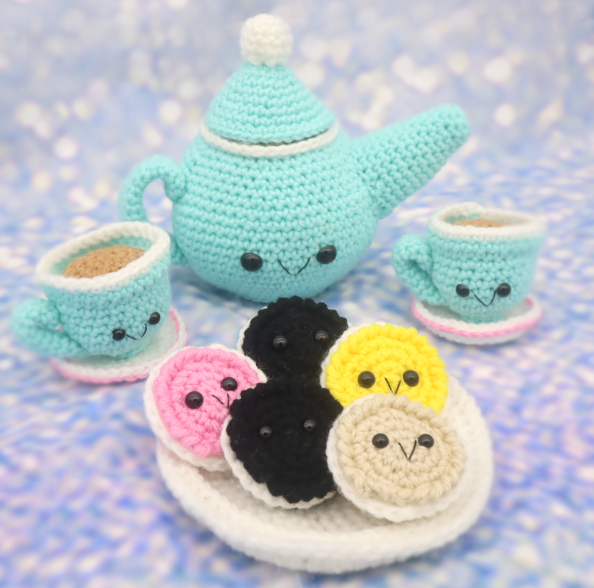
Also, if you want to make tea time even more fun, I have an oreo cookie pattern releasing free on my website on May 12, 2022!
Tea for pot: (Make first)
In brown
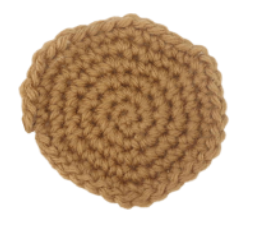
Round 1: 6 Sc into a Magic Ring (6)
Round 2: *Inc* all around (12)
Round 3: *Inc, Sc in the next st* all around (18)
Round 4: *Inc, Sc in the next 2 st* all around (24)
Round 5: *Inc, Sc in the next 3 st* all around (30)
Round 6: *Inc, Sc in the next 4 st* all around (36)
Finish off and weave in ends.
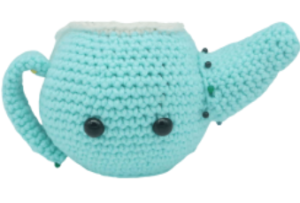
Tea Pot:
In blue
Round 1: 6 Sc into a Magic Ring (6)
Round 2: *Inc* all around (12)
Round 3: *Inc, Sc in the next st* all around (18)
Round 4: *Inc, Sc in the next 2 st* all around (24)
Round 5: *Inc, Sc in the next 3 st* all around (30)
Round 6: *Inc, Sc in the next 4 st* all around (36)
Round 7: In the BLO (Back Loop Only), *Sc* all around (36)
Round 8: In BOTH Loops, *Inc, Sc in the next 5 st* all around (42)
Round 9: *Sc* all around (42)
Round 10: *Inc, Sc in the next 6 st* all around (48)
Round 11: *Sc* all around (48)
Round 12: *Inc, Sc in the next 7 st* all around (54)
Round 13-14: *Sc* all around (54)
Add a differently colored stitch marker into the 20th and 26th stitch of Round 14.
Round 15-19: *Sc* all around (54)
Round 20: *Dec, Sc in the next 7 st* all around (48)
Round 21: *Sc* all around (48)
Round 22: *Dec, Sc in the next 6 st* all around (42)
Round 23: *Sc* all around (42)
Round 24: *Dec, Sc in the next 5 st* all around (36
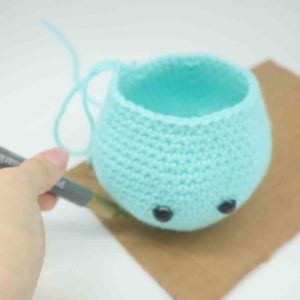
We will add in cardboard so the bottom of the pot will sit flat!
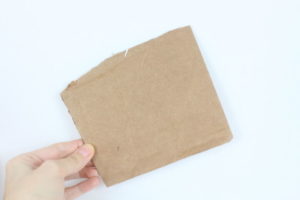
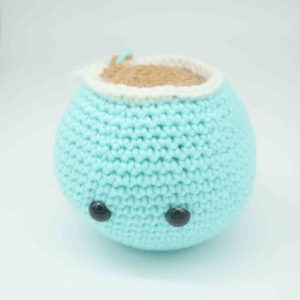
Step 1. Add safety eyes into the marked areas from Round 14 now. Now Place the pot on cardboard and trace around the entire bottom of the cup (Pic 1)
1.
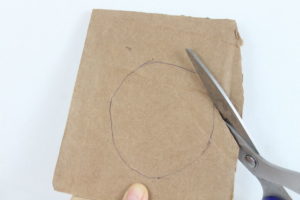
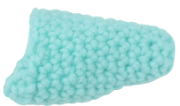
Step 2. You will have a circle (Pic 2). Cut around the circle with scissors (Pic 3-4)
2. 3.
3. 4.
4.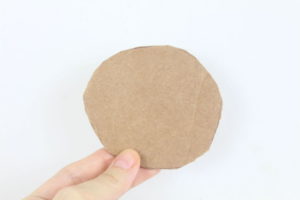
Step 3. Place the piece into the bottom of the pot (Pic 5), and then stuff the pot firmly.
5.
Please note: Do not add cardboard into the pot if you are planning on washing and drying the toy.
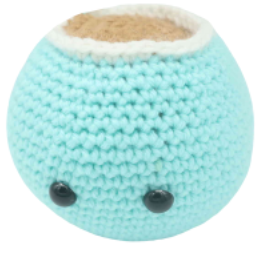
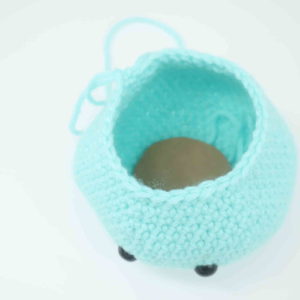
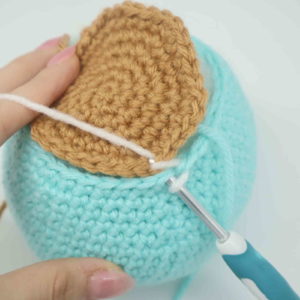
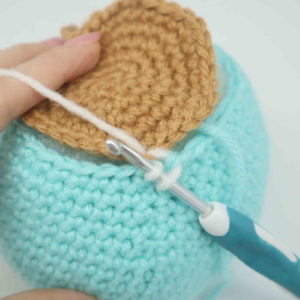
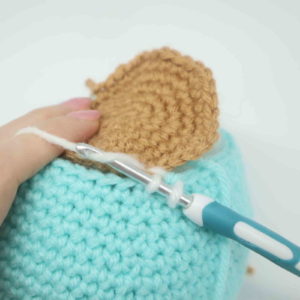
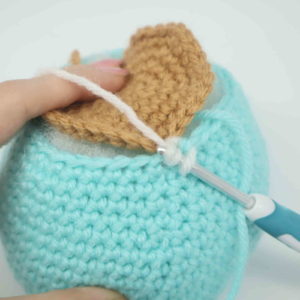
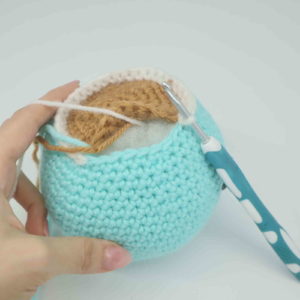
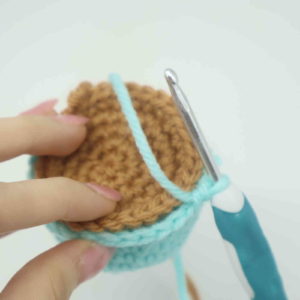
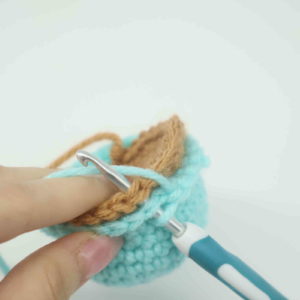
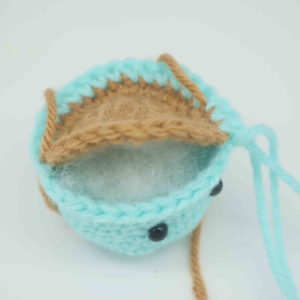
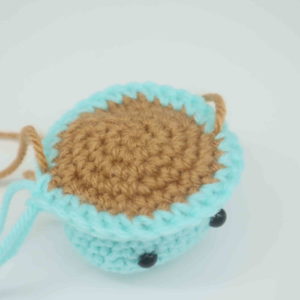
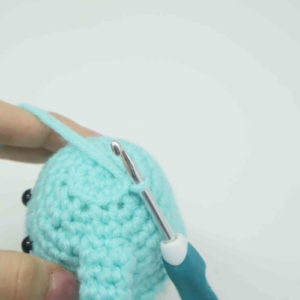
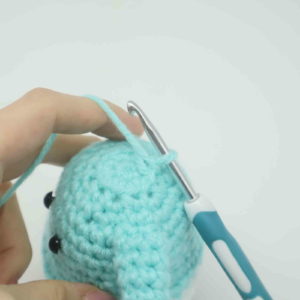
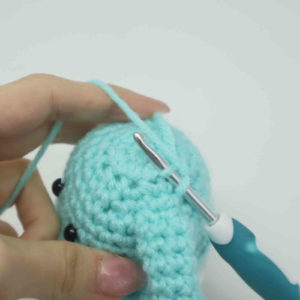
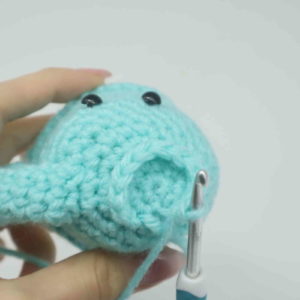
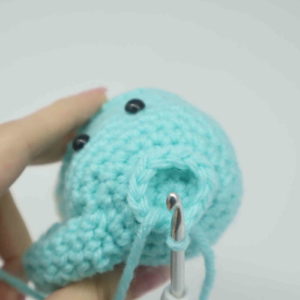
Round 25: We will now crochet the tea to the pot! Change to White. Line up tea to pot so the stitches align as shown (Pic 1). Going through BOTH the pot and tea (Pic 2).
1.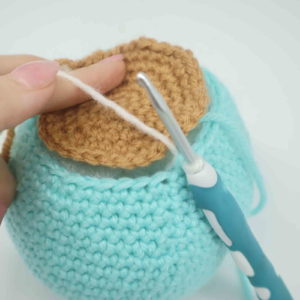 2.
2.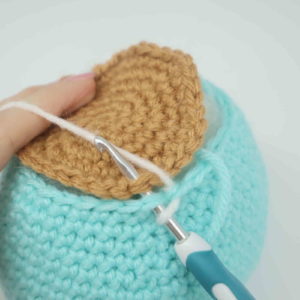
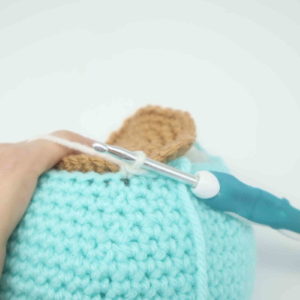
*Sc* all around (Pic 4-8). Stuff the pot firmly now (Pic 9). (36) Finish off and weave in ends.
3. 4.
4. 5.
5. 6.
6. 7.
7. 8.
8. 9.
9. 10.
10.
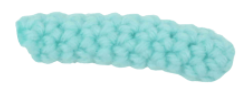
Nozzle:
In blue
The first few rounds (rounds 1-5) will create the inside of the nozzle. When we work in the back loops only, this will create the edge of the nozzle, and will lead us to then create the outside of the nozzle starting in Round 5.
Round 1: 6 Sc into a Magic Ring (6)
Round 2-3: *Sc* all around (6)
Round 4: In the BLO, *Inc, Sc in the next st* all around (9)
Round 5: In the BLO, *Sc* all around (9)
Round 6: In BOTH Loops, *Sc* all around (9)
Round 7: *Inc, Sc in the next 2 st* all around (12)
Round 8-9: *Sc* all around (12)
Round 10: *Inc, Sc in the next 3 st* all around (15)
Round 11: *Sc* all around (15)
Round 12: *Inc, Sc in the next 4 st* all around (18)
Round 13: *Sc* all around (18)
Round 14: *Inc, Sc in the next 5 st* all around (21)
Round 15-16: *Sc* all around (21)
Round 17: Dec 1 time, Sc in the next 8 st, Dec 1 time.
In the following steps we will actually work in rows, turning our piece when instructed to create a row.
Row 18: Turn, Dec 1 time, Sc in the next 6 st, *Dec* 1 time
Row 19: Turn, Dec 1 time, Sc in the next 4 st, Dec 1 time
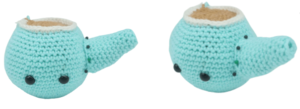
Finish off, leaving a long tail for sewing. Stuff the nozzle now, then pin it onto the pot as shown. The rows we worked will be facing the bottom. Sew on and weave in ends.
Tea Pot Handle:
In blue
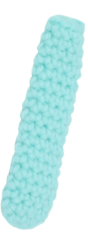
Round 1: 6 Sc into a Magic Ring (6)
Round 2-12: *Sc* all around (6)
Finish off, leaving a long tail for sewing. Pin the handle on as shown, making sure that the top of the handle is curved. Sew on and weave in ends.
Tea Pot Top:
In blue
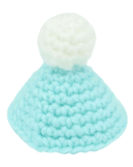
Round 1: 6 Sc into a Magic Ring (6)
Round 2: *Inc* all around (12)
Round 3-5: *Sc* all around (12)
Round 6: *Dec* all around (6)
Round 7: Change to Blue. In the Front Loop Only (FLO) *Inc* all around (12)
Round 8: *Inc, Sc in the next st* all around (18)
Round 9: *Sc* all around (18)
Round 10: *Inc, Sc in the next 2 st* all around (24)
Round 11: *Sc* all around (24)
Round 12: *Inc, Sc in the next 3 st* all around (30)
Round 13: *Sc* all around (30)
Round 14: *Inc, Sc in the next 4 st* (36)
Finish off, and weave in ends.
Tea for Tea Cup: (Make first)
In blue
Round 1: 6 Sc into a Magic Ring (6)
Round 2: *Inc* all around (12)
Round 3: *Inc, Sc in the next st* all around (18)
Round 4: *Inc, Sc in the next 2 st* all around (24)
Round 5: *Inc, Sc in the next 3 st* all around (30)
Finish off and weave in ends.
Tea cup:
In blue
Round 1: 6 Sc into a Magic Ring (6)
Round 2: *Inc* all around (12)
Round 3: In the BLO, *Inc, Sc in the next st* all around (18)
Round 4: In BOTH Loops, *Inc, Sc in the next 2 st* all around (24)
Round 5-6: *Sc* all around (24)
Add a different colored eye stitch marker into the 10th and 13th stitch
Round 7-9: *Sc* all around (24)
Round 10: *Inc, Sc in the next 3 st* all around (30)
Round 11: Now we will crochet the the tea to the cup. Line up tea to cup so the stitches align as shown (Pic 1). Going through BOTH the cup and tea (Pic 2), *Sc* all around. Be sure to add stuffing before fully crocheting closed (Pic 3). I recommend adding something to weight the cup down, a rock or plastic pellets inside a sachet will work. Please make sure the items you use to weigh down the cup are safe to be played with by young children. Also make note the objects added are safe if you choose to wash/dry the toy in the future. (Stitch count: 30)
1. 2.
2. 3.
3. 4.
4.
Round 12: *Sc* all around (30)
Round 13: Change to White. *Sc* all around (30)
Finish off and weave in ends.
Tea Cup Bottom: (Optional)
In blue
You will see a circle of loops on the bottom of the cup (Pic 1). Attach your crochet hook through one of the loops as shown (Pic 1). Yarn over with blue (Pic 2), and pull the yarn through (Pic 3-4).
1.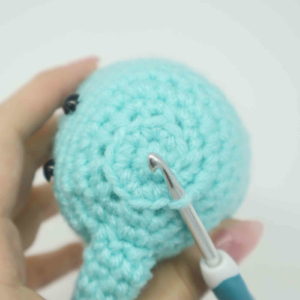 2.
2. 3.
3. 4.
4.
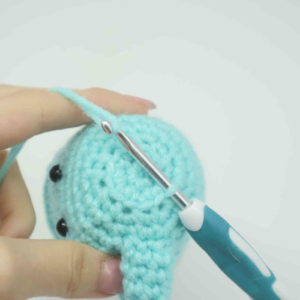
Ch 1. Sc into the next loop (Pic 6). Continue making 1 Sc into each loop until you’ve completed a circle (Pic 7). At this time, you can try setting the cup down and see if it sits stable for you. If not, you can undo the stitches you made and leave the cup as is. If you’re satisfied with this step, finish off and weave in ends.
5. 6.
6. 7.
7. 8.
8.
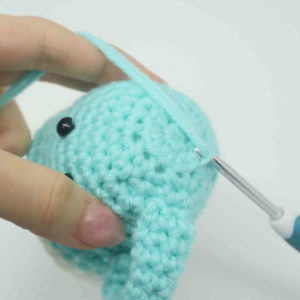
Cup Handle:
In Blue
Round 1: 6 Sc into a Magic Ring (6)
Round 2-12: *Sc* all around (6)
Finish off, leaving a long tail for sewing. Pin the handle on as shown, making sure that the top of the handle is curved. Sew on and weave in ends.
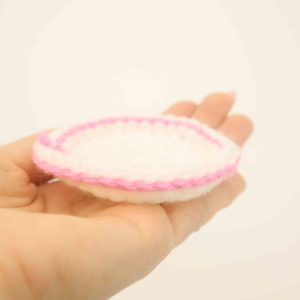
Tea Plate:
In white
Round 1: 6 Sc into a Magic Ring (6)
Round 2: *Inc* all around (12)
Round 3: *Inc, Sc in the next st* all around (18)
Round 4: *Inc, Sc in the next 2 st* all around (24)
Round 5: *Inc, Sc in the next 3 st* all around (30)
Round 6: In the BLO, repeat *Inc, Sc in the next 4 st* all around (36)
Round 7: Change to pink. *SlSt in each st* all around (36)
Finish off and weave in ends.
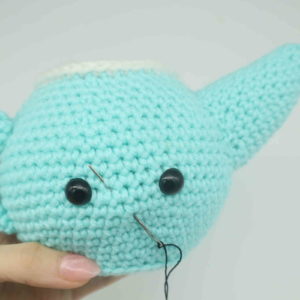
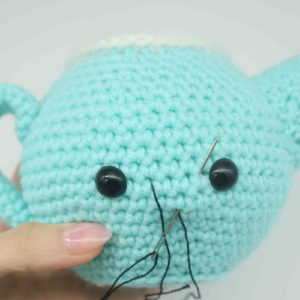
Smile:
In black embroidery thread
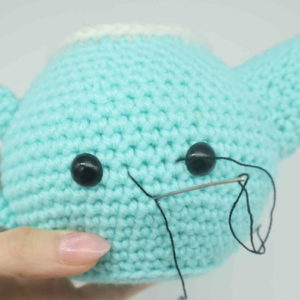
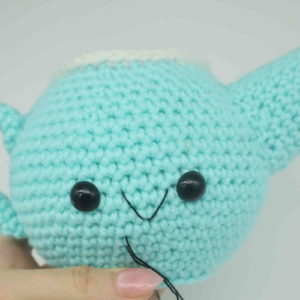
Insert needle with thread into the middle mouth area of the toy, and pull the needle out next to the toy’s left eye as shown (Pic 1). Reinsert needle into the middle mouth area (Pic 2) and pull needle out next to the right eye (Pic 2). Reinsert needle into the middle mouth area and pull needle out a few stitches over. Tie the ends of thread into firm knots and bring them inside the toy to hide. This will secure the smile. Done!
1. 2.
2. 3.
3. 4.
4.


5 Comments
This looks like a fun and easy, challenge. I’d like to make it for my students!
The Tea Set is so cute for the little ones. Thank you for sharing your pattern
How many stiches are in row 17, 18, 19
Everything is so beautiful
Thank you 😊
well surely it should be 18 rows for the handle and not 12 i count 18 on the one in the picture and 12 is too short